Amazon offers different services to those music lovers. You can purchase MP3s songs and albums from Amazon that are compatible with most media players, such as Windows Media Player and iTunes. In addition, with an Amazon Prime member, you can access 100 million songs from Amazon at no additional cost. For more features, you can subscribe to Amazon Music Unlimited. Here we’d introduce three methods to help you download Amazon Music to Windows Media Player for playing. Let’s check out how to do it now.

Part 1. How to Move Purchased Amazon Music to Windows Media Player
Amazon allows you to listen to streaming content online and offers millions of songs for you to purchase in the online music store. Best of all, every song purchased from Amazon is unprotected and encoded in the format of MP3. So, those purchased Amazon Music files can be added to Windows Media Player for playing. You need to download the purchased Amazon Music to your computer first, then follow the below steps to transfer Amazon Music to Windows Media Player.
Method 1. Move Purchased Amazon Music to WMP via Web Browser
Step 1. Navigate to Amazon Web Player and sign into your Amazon account.
Step 2. Go to Library and click the Songs button, then click the Purchased button.
Step 3. Select the songs or albums you’ve purchased and click the Download button.
Step 4. Click No thanks, just download music files directly and choose Save to save Amazon MP3 files.
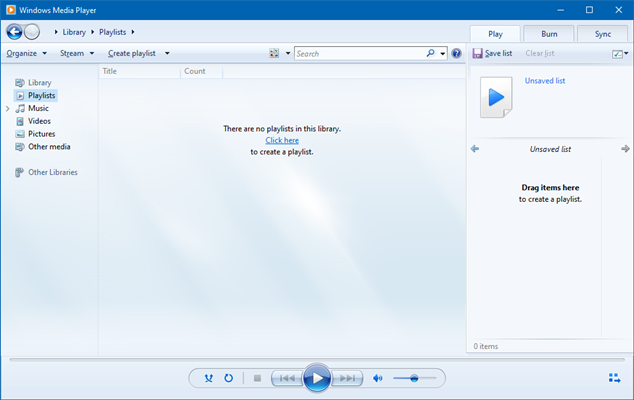
Step 5. Open Windows Media Player on your computer and click Organize from the menu.
Step 6. Click Manage Libraries and select Music, then click Add in the pop-up window.
Step 7. Locate the folder where you save your Amazon MP3 files and select the folder.
Step 8. Click Include Folder and confirm to add Amazon Music files to the media player.
Step 9. Once imported, your music appears in your library and you can start to play Amazon music on Windows Media Player.
Method 2. Sync Purchased Amazon Music to WMP via Amazon Music App
Step 1. Open the Amazon Music app on your computer and click Login to enter your account details for signing in.
Step 2. After logging into your Amazon account, head over to Library and switch to Songs, then click Purchased.
Step 3. Click the Download button next to each track you’ve purchased, and the music will be downloaded.
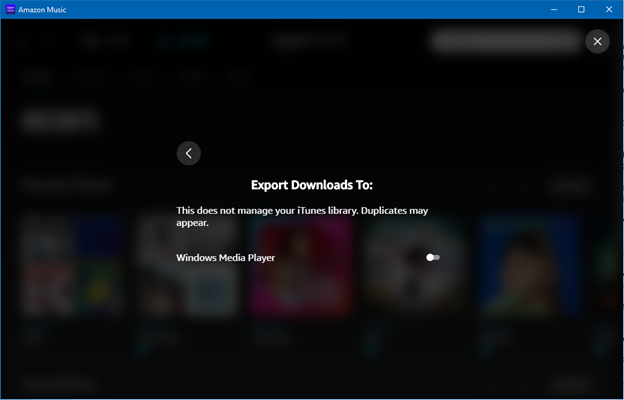
Step 4. Click your profile image and select Settings, then scroll down to find Export Downloads To.
Step 5. Click the Export Downloads To button and then select Windows Media Player to sync your downloads.
Part 2. How to Download Amazon Music to Windows Media Player
With the above methods, you can import your purchased songs from Amazon to Windows Media Player. However, those music tracks from Amazon Music Prime or Amazon Music Unlimited are protected by Digital Rights Management. Those streaming audios can only be accessible within the Amazon Music app or Amazon Web Player.
In this case, if you want to download Amazon Music to Windows Media Player, the first step you need to do is to remove DRM from Amazon Music and convert Amazon Music to MP3. There are several ways that you can start the conversion of Amazon Music to MP3. Here we’d recommend a third-party tool called Tunelf Amazon Music Converter to you.
Tunelf Amazon Music Converter is a professional music converter for both Amazon Prime Music and Amazon Music Unlimited, enabling you to download and convert Amazon Music to MP3. With this method, you can easily download any song, album, playlist, or podcast from Amazon, then transfer Amazon Music to Windows Media Player without limits.

Key Features of Tunelf Amazon Music Converter
- Download songs from Amazon Music Prime, Music Unlimited, and HD Music
- Convert Amazon Music songs to MP3, AAC, FLAC, WAV, M4A, and M4B
- Handle the audio conversion of Amazon Music at a faster speed of 5×
- Ensure the output audio quality while retaining ID3 tags and metadata
Step 1 Go to Select Amazon Music to Download
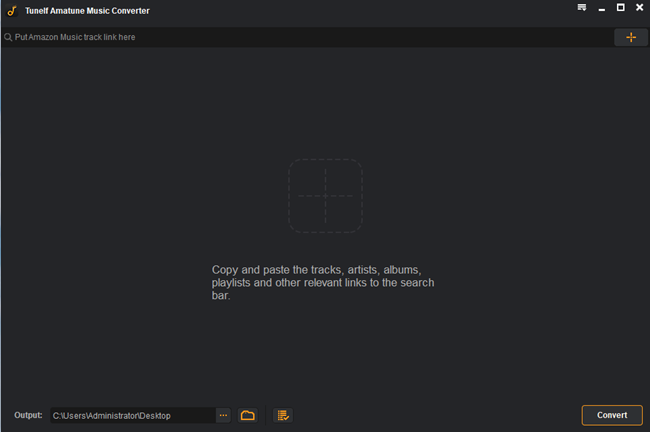
Open Tunelf Amatune Music Converter on your computer, then you’ll be directed to the Amazon Music app automatically. You can go to search for playlists or songs you want to download and start selecting a playlist to download. When finding one, go to copy the playlist link and go back to the converter, then paste the link into the search bar on the converter.
Step 2 Customize the Output Audio Parameters
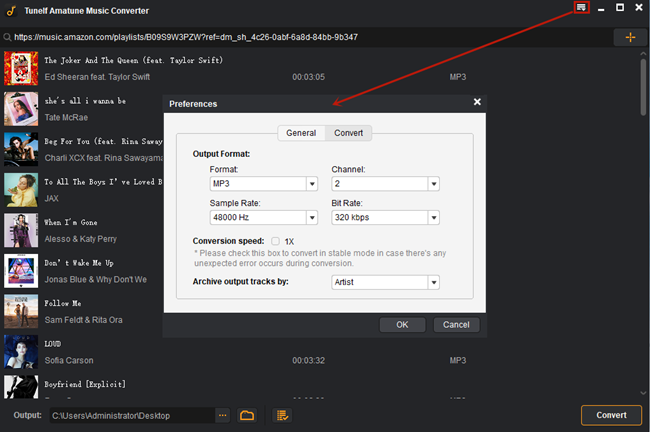
Once you’ve added Amazon Music tracks to the converter, you can go to customize the output audio parameters by clicking the menu bar and selecting the Preferences option. In the Converted window, you can set MP3 as the output audio format. Also, you can adjust the bit rate, sample rate, and channel.
Step 3 Download Music from Amazon to MP3
To download Amazon Music songs, you just need to click the Convert button and the songs will start to download, but keep in mind that it may take a little while depending on the size of the playlist. After the download is complete, you can browse them by clicking the Converted button, and then you will see all the converted tracks within the program.
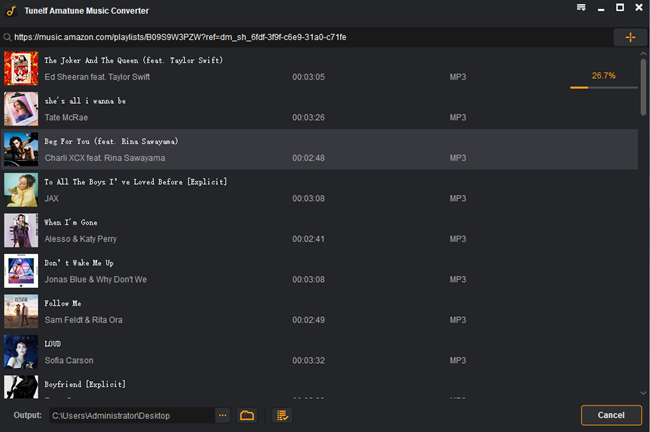
Step 4 Import Amazon Music to Windows Media Player
If you have completed the conversion of Amazon Music to MP3, you can start to import Amazon Music to Windows Media Player for playing.

1) Open Windows Media Player on your computer then select the Library tab to view the library section.
2) Select the small down-arrow icon located underneath the library tab at the top of the screen.
3) From the pop-up window, select Add Library and set your media type to music.
4) Click the Add button and start to browse and add your downloaded Amazon Music files.
Bottomline
And voila, you have known how to import Amazon songs to your Windows Media Player for playing. You could choose one method to get it done according to your music files. Now with Windows Media Player, you can save your time when looking for the right song, genre, or album. Let’s get started on your listening.
Get the product now:
Get the product now:


